1Empty
2Empty
3Empty
4Empty
5Empty
6Empty
7Empty
8Empty
9Empty
10Empty
11Empty
12Empty
13Empty
14Empty
15Empty
16Empty
17Empty
18Empty
19Empty
20Empty
21Empty
22Empty
23Empty
24Empty
25Empty
26Empty
27Empty
28Empty
29Empty
30Empty
31Empty
32Empty
33Empty
34Empty
35Empty
36Empty
37Empty
38Empty
39Empty
40Empty
41Empty
42Empty
43Empty
44Empty
45Empty
46Empty
47Empty
48Empty
49Empty
50Empty
Featured pickTabletop Spin Wheel GameAs an Amazon Associate we earn from qualifying purchases.
Shop
Public
1lifetime spin
3stotal spin time

TierMakerView Tier ListCreated byTierMakerVerified

How the Zelda BOTW Enemies randomizer works

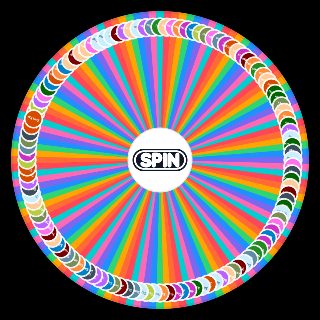
A free Zelda BOTW Enemies randomizer with 50 options. Hit the spin button for a random pick every time — no sign-up needed.

The wheel holds 50 options and picks one at random on every spin. It's part of our Zelda spin wheels. It works as a wheel spinner for decisions, giveaways, or settling a debate.

All 50 options on the randomizer
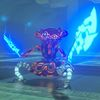
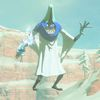
  • 100px Blizzrobejpg — Zelda BOTW Enemies option 1
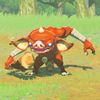
  • 100px Bokoblinjpg — Zelda BOTW Enemies option 2
  • 100px Calamity Ganonjpg — Zelda BOTW Enemies option 3
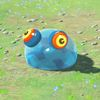
  • 100px Chuchujpg — Zelda BOTW Enemies option 4
  • 100px Cursed Bokoblinjpg — Zelda BOTW Enemies option 5
  • 100px Cursed Moblinjpg — Zelda BOTW Enemies option 6
  • 100px Cursedlizalfosjpg — Zelda BOTW Enemies option 7
  • 100px Dark Beast Ganonjpg — Zelda BOTW Enemies option 8
  • 100px Decayed Guardianjpg — Zelda BOTW Enemies option 9
  • 100px Electric Chuchujpg — Zelda BOTW Enemies option 10
  • 100px Electric Keesejpg — Zelda BOTW Enemies option 11
  • 100px Electric Wizzrobejpg — Zelda BOTW Enemies option 12
  • 100px Fire Chuchujpg — Zelda BOTW Enemies option 13
  • 100px Fire Keesejpg — Zelda BOTW Enemies option 14
  • 100px Fire Wizzrobejpg — Zelda BOTW Enemies option 15
  • 100px Fireblight Ganonjpg — Zelda BOTW Enemies option 16
  • 100px Frost Talusjpg — Zelda BOTW Enemies option 17
  • 100px Guardian Scout Iiijpg — Zelda BOTW Enemies option 18
  • 100px Guardian Scout Ijpg — Zelda BOTW Enemies option 19
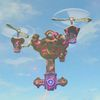
  • 100px Guardian Skywatcherjpg — Zelda BOTW Enemies option 20
  • 100px Guardian Stalkerjpg — Zelda BOTW Enemies option 21
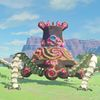
  • 100px Guardian Turretjpg — Zelda BOTW Enemies option 22
  • 100px Hinox Botwjpg — Zelda BOTW Enemies option 23
  • 100px Ice Chuchujpg — Zelda BOTW Enemies option 24
  • 100px Ice Keesejpg — Zelda BOTW Enemies option 25
  • 100px Ice Wizzrobejpg — Zelda BOTW Enemies option 26
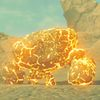
  • 100px Igneo Talusjpg — Zelda BOTW Enemies option 27
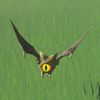
  • 100px Keese Botwjpg — Zelda BOTW Enemies option 28
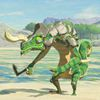
  • 100px Lizalfos Botwjpg — Zelda BOTW Enemies option 29
  • 100px Lyneljpg — Zelda BOTW Enemies option 30
  • 100px Master Kohgajpg — Zelda BOTW Enemies option 31
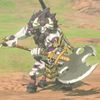
  • 100px Meteo Wizzrobejpg — Zelda BOTW Enemies option 32
  • 100px Moblinjpg — Zelda BOTW Enemies option 33
  • 100px Moldugajpg — Zelda BOTW Enemies option 34
  • 100px Monk Maz Koshiajpg — Zelda BOTW Enemies option 35
  • 100px Rock Octorokjpg — Zelda BOTW Enemies option 36
  • 100px Sentryjpg — Zelda BOTW Enemies option 37
  • 100px Silverlyneljpg — Zelda BOTW Enemies option 38
  • 100px Stalizalfosjpg — Zelda BOTW Enemies option 39
  • 100px Stalkoblinjpg — Zelda BOTW Enemies option 40
  • 100px Stalmoblinjpg — Zelda BOTW Enemies option 41
  • 100px Stalnoxjpg — Zelda BOTW Enemies option 42
  • 100px Stone Pebblitjpg — Zelda BOTW Enemies option 43
  • 100px Stone Talusjpeg — Zelda BOTW Enemies option 44
  • 100px Thunder Wizzrobejpg — Zelda BOTW Enemies option 45
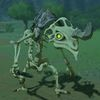
  • 100px Thunderblight Ganonjpg — Zelda BOTW Enemies option 46
  • 100px Waterblight Ganonjpg — Zelda BOTW Enemies option 47
  • 100px Windblight Ganon 2jpg — Zelda BOTW Enemies option 48
  • 100px Yiga Blademasterjpg — Zelda BOTW Enemies option 49
  • 100px Yiga Footsoldierjpg — Zelda BOTW Enemies option 50

More in Zelda