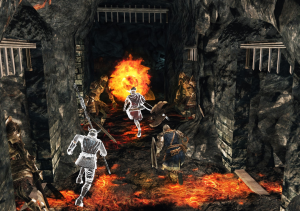
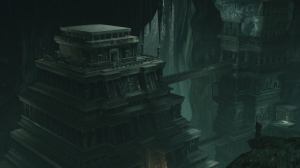
Dark Souls 2 SOTFS Areas Included Random Generator

1Empty
2Empty
3Empty
4Empty
5Empty
6Empty
7Empty
8Empty
9Empty
10Empty
11Empty
12Empty
13Empty
14Empty
15Empty
16Empty
17Empty
18Empty
19Empty
20Empty
21Empty
22Empty
23Empty
24Empty
25Empty
26Empty
27Empty
28Empty
29Empty
30Empty
31Empty
32Empty
33Empty
34Empty
35Empty
36Empty
37Empty
Featured pickTabletop Spin Wheel GameAs an Amazon Associate we earn from qualifying purchases.
Shop
Public
1lifetime spin
10stotal spin time

TierMakerView Tier ListCreated byTierMakerVerified

About this Dark Souls 2 SOTFS Areas Included picker

Looking for a Dark Souls 2 SOTFS Areas Included picker? Spin to pick and it picks one of 37 options at random.

With 37 options loaded, you get a random result on every spin. It's part of our Random spin wheels. Spin to pick as many times as you like — reshuffle and go again.
All 37 options on the picker

  • Aldias Keep Areapng — Dark Souls 2 SOTFS Areas Included option 1
  • Belfry Luna Areapng — Dark Souls 2 SOTFS Areas Included option 2
  • Belfry Sol Areapng — Dark Souls 2 SOTFS Areas Included option 3
  • Black Gulch Areapng — Dark Souls 2 SOTFS Areas Included option 4
  • Brightstone Cove Tseldora Areapng — Dark Souls 2 SOTFS Areas Included option 5
  • Brumetowerpng — Dark Souls 2 SOTFS Areas Included option 6
  • Cathedral Of Blue Areapng — Dark Souls 2 SOTFS Areas Included option 7
  • Caveofthedeadjpg — Dark Souls 2 SOTFS Areas Included option 8
  • Cotiklocationeleumloycejpg — Dark Souls 2 SOTFS Areas Included option 9
  • Darkchasmofoldjpg — Dark Souls 2 SOTFS Areas Included option 10
  • Doors Of Pharros Areapng — Dark Souls 2 SOTFS Areas Included option 11
  • Dragon Aerie Areapng — Dark Souls 2 SOTFS Areas Included option 12
  • Dragon Shrine Areapng — Dark Souls 2 SOTFS Areas Included option 13
  • Dragonssanctumpng — Dark Souls 2 SOTFS Areas Included option 14
  • Drangleic Castle Areapng — Dark Souls 2 SOTFS Areas Included option 15
  • Earthen Peak Areapng — Dark Souls 2 SOTFS Areas Included option 16
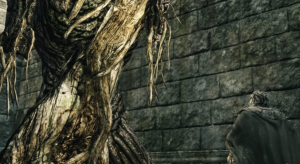
  • Forest Of Fallen Giants Areapng — Dark Souls 2 SOTFS Areas Included option 17
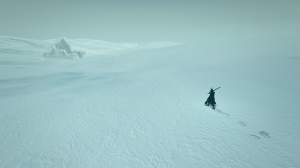
  • Frigidoutskirtsjpg — Dark Souls 2 SOTFS Areas Included option 18
  • Giantmemoriesjpg — Dark Souls 2 SOTFS Areas Included option 19
  • Grave Of Saints Areapng — Dark Souls 2 SOTFS Areas Included option 20
  • Guttersotfjpg — Dark Souls 2 SOTFS Areas Included option 21
  • Harvest Valley Areapng — Dark Souls 2 SOTFS Areas Included option 22
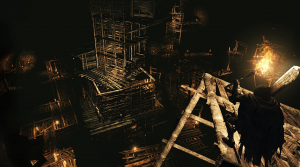
  • Heide Tower Of Flame Areapng — Dark Souls 2 SOTFS Areas Included option 23
  • Huntsmans Copse Areapng — Dark Souls 2 SOTFS Areas Included option 24
  • Iron Keep Areapng — Dark Souls 2 SOTFS Areas Included option 25
  • Ironpassagejpg — Dark Souls 2 SOTFS Areas Included option 26
  • Lost Bastille Areapng — Dark Souls 2 SOTFS Areas Included option 27
  • Majula Areapng — Dark Souls 2 SOTFS Areas Included option 28
  • No Mans Wharf Areapng — Dark Souls 2 SOTFS Areas Included option 29
  • Sanctumcityjpg — Dark Souls 2 SOTFS Areas Included option 30
  • Shaded Woods Areapng — Dark Souls 2 SOTFS Areas Included option 31
  • Shrine Of Amana Areapng — Dark Souls 2 SOTFS Areas Included option 32
  • Sinners Rise Areapng — Dark Souls 2 SOTFS Areas Included option 33
  • Things Betwixt Areapng — Dark Souls 2 SOTFS Areas Included option 34
  • Throneofwantjpg — Dark Souls 2 SOTFS Areas Included option 35
  • Undead Crypt Areapng — Dark Souls 2 SOTFS Areas Included option 36
  • Undead Purgatory Areapng — Dark Souls 2 SOTFS Areas Included option 37

Comments

Sign in to leave a comment.
More in Random