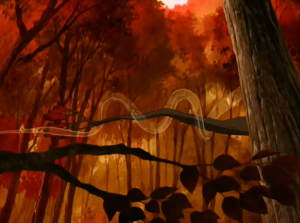
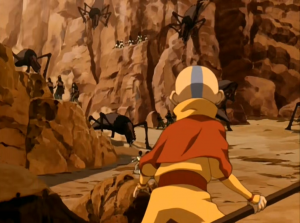
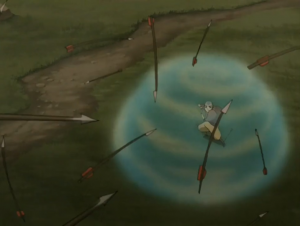
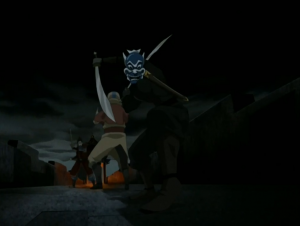
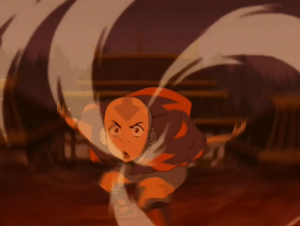
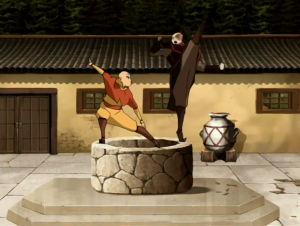
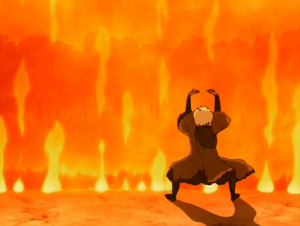
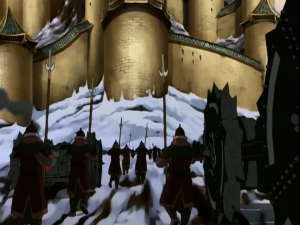
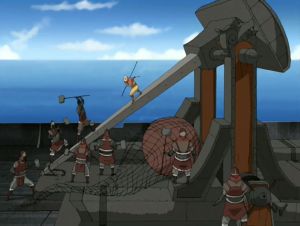
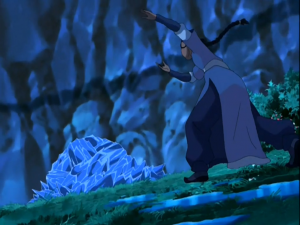
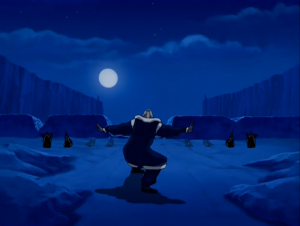
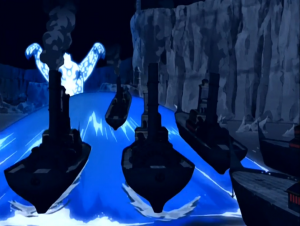
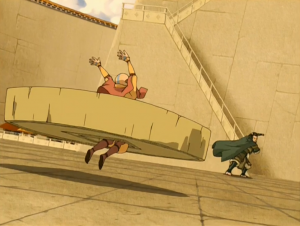
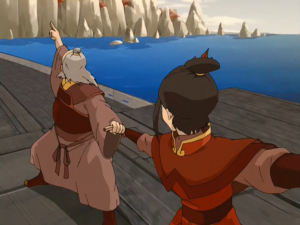
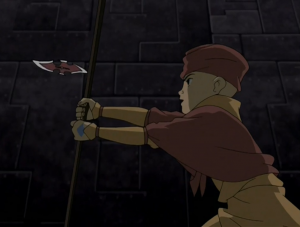
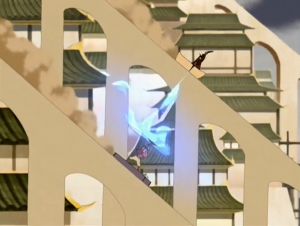
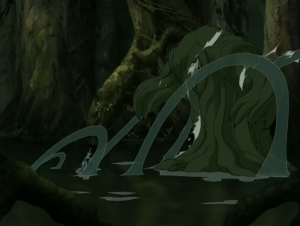
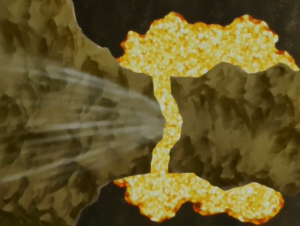
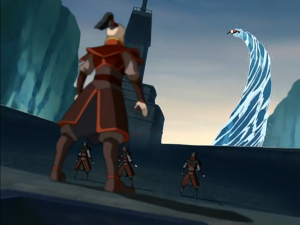
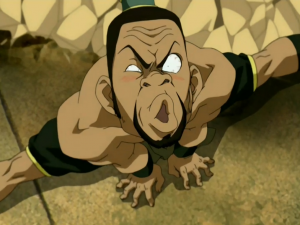
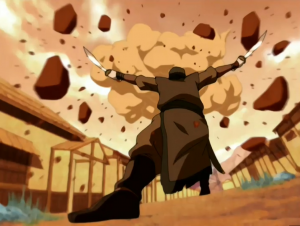
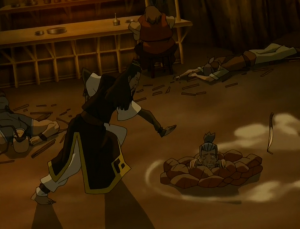
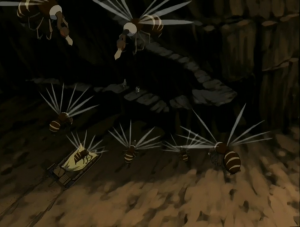
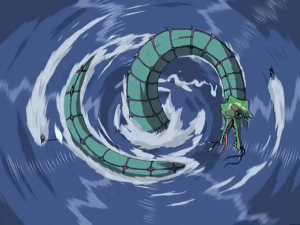
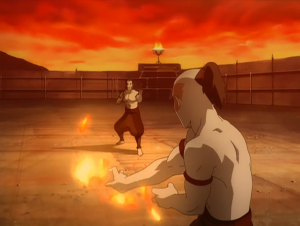
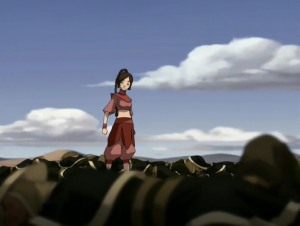
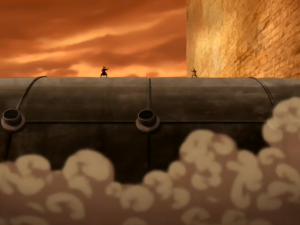
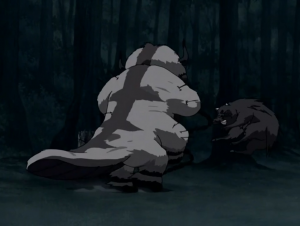
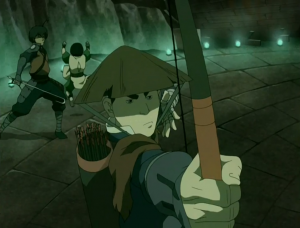
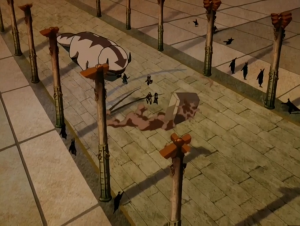
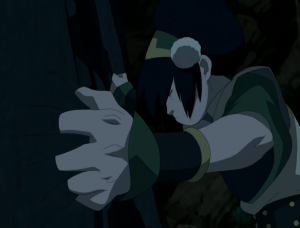
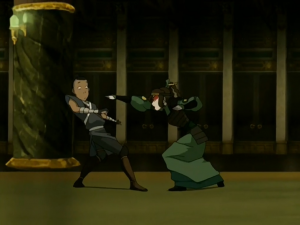
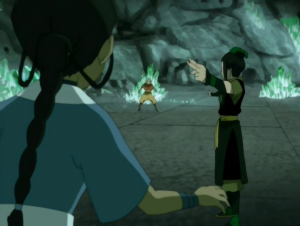
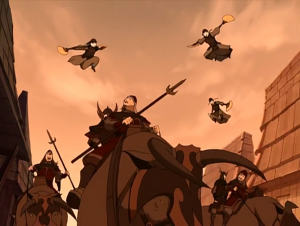
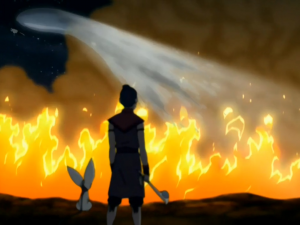
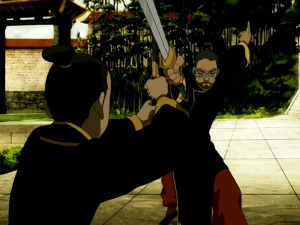
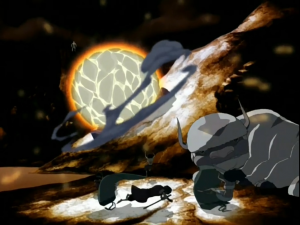
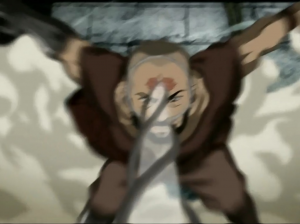
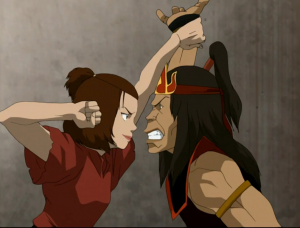
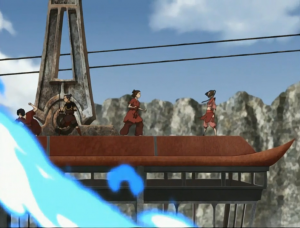
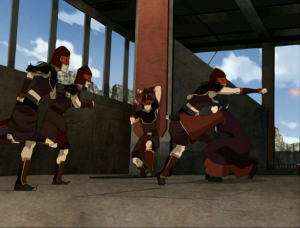
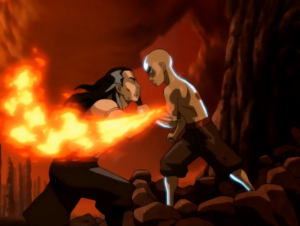
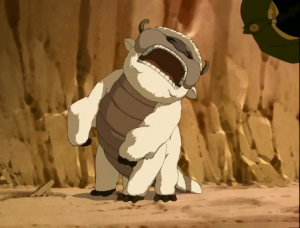
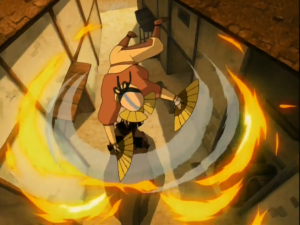
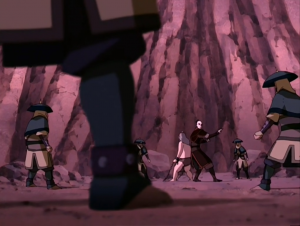
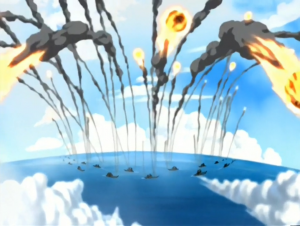
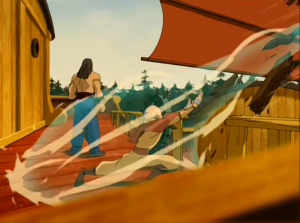
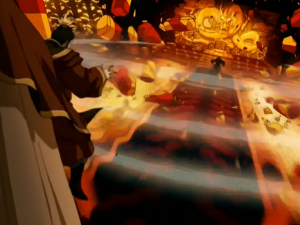
Choose a Random Avatar: The Last Airbender Fight Scene

1Empty
2Empty
3Empty
4Empty
5Empty
6Empty
7Empty
8Empty
9Empty
10Empty
11Empty
12Empty
13Empty
14Empty
15Empty
16Empty
17Empty
18Empty
19Empty
20Empty
21Empty
22Empty
23Empty
24Empty
25Empty
26Empty
27Empty
28Empty
29Empty
30Empty
31Empty
32Empty
33Empty
34Empty
35Empty
36Empty
37Empty
38Empty
39Empty
40Empty
41Empty
42Empty
43Empty
44Empty
45Empty
46Empty
47Empty
48Empty
49Empty
50Empty
51Empty
52Empty
53Empty
54Empty
55Empty
56Empty
57Empty
58Empty
59Empty
60Empty
61Empty
62Empty
63Empty
64Empty
65Empty
66Empty
67Empty
68Empty
69Empty
70Empty
71Empty
72Empty
73Empty
74Empty
75Empty
76Empty
77Empty
78Empty
79Empty
80Empty
81Empty
82Empty
83Empty
84Empty
Featured pickTabletop Spin Wheel GameAs an Amazon Associate we earn from qualifying purchases.
Shop
Public
TierMakerView Tier ListCreated byTierMakerVerified

How the Avatar: The Last Airbender Fight Scene roulette wheel works

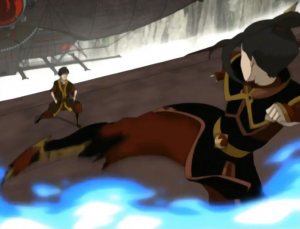
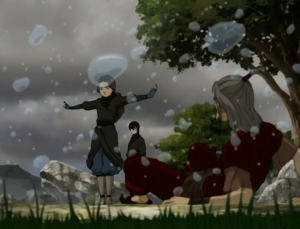
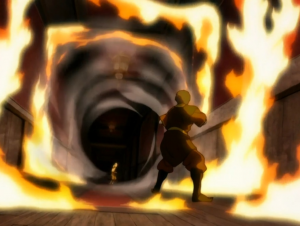
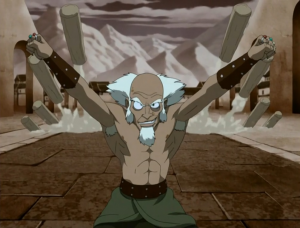
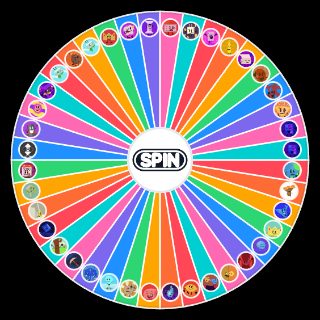
Hit the spin button through 84 options and let this Avatar: The Last Airbender Fight Scene roulette wheel land on one at random.

The wheel holds 84 options and picks one at random on every spin. It's part of our Cartoons spin wheels. It works as a wheel spinner for decisions, giveaways, or settling a debate.

All 84 options on the roulette wheel
  • Rco0241555897437 10jpg — Avatar: The Last Airbender Fight Scene option 1
  • Rco0241555897437 11jpg — Avatar: The Last Airbender Fight Scene option 2
  • Rco0241555897437 12jpg — Avatar: The Last Airbender Fight Scene option 3
  • Rco0241555897437 13jpg — Avatar: The Last Airbender Fight Scene option 4
  • Rco0241555897437 14jpg — Avatar: The Last Airbender Fight Scene option 5
  • Rco0241555897437 15jpg — Avatar: The Last Airbender Fight Scene option 6
  • Rco0241555897437 16jpg — Avatar: The Last Airbender Fight Scene option 7
  • Rco0241555897437 17jpg — Avatar: The Last Airbender Fight Scene option 8
  • Rco0241555897437 18jpg — Avatar: The Last Airbender Fight Scene option 9
  • Rco0241555897437 19jpg — Avatar: The Last Airbender Fight Scene option 10
  • Rco0241555897437 20jpg — Avatar: The Last Airbender Fight Scene option 11
  • Rco0241555897437 21jpg — Avatar: The Last Airbender Fight Scene option 12
  • Rco0241555897437 22jpg — Avatar: The Last Airbender Fight Scene option 13
  • Rco0241555897437 23jpg — Avatar: The Last Airbender Fight Scene option 14
  • Rco0241555897437 24jpg — Avatar: The Last Airbender Fight Scene option 15
  • Rco0241555897437 25jpg — Avatar: The Last Airbender Fight Scene option 16
  • Rco0241555897437 26jpg — Avatar: The Last Airbender Fight Scene option 17
  • Rco0241555897437 27jpg — Avatar: The Last Airbender Fight Scene option 18
  • Rco0241555897437 28jpg — Avatar: The Last Airbender Fight Scene option 19
  • Rco0241555897437 29jpg — Avatar: The Last Airbender Fight Scene option 20
  • Rco0241555897437 2jpg — Avatar: The Last Airbender Fight Scene option 21
  • Rco0241555897437 30jpg — Avatar: The Last Airbender Fight Scene option 22
  • Rco0241555897437 31jpg — Avatar: The Last Airbender Fight Scene option 23
  • Rco0241555897437 32jpg — Avatar: The Last Airbender Fight Scene option 24
  • Rco0241555897437 33jpg — Avatar: The Last Airbender Fight Scene option 25
  • Rco0241555897437 34jpg — Avatar: The Last Airbender Fight Scene option 26
  • Rco0241555897437 35jpg — Avatar: The Last Airbender Fight Scene option 27
  • Rco0241555897437 36jpg — Avatar: The Last Airbender Fight Scene option 28
  • Rco0241555897437 37jpg — Avatar: The Last Airbender Fight Scene option 29
  • Rco0241555897437 38jpg — Avatar: The Last Airbender Fight Scene option 30
  • Rco0241555897437 39jpg — Avatar: The Last Airbender Fight Scene option 31
  • Rco0241555897437 3jpg — Avatar: The Last Airbender Fight Scene option 32
  • Rco0241555897437 40jpg — Avatar: The Last Airbender Fight Scene option 33
  • Rco0241555897437 41jpg — Avatar: The Last Airbender Fight Scene option 34
  • Rco0241555897437 42jpg — Avatar: The Last Airbender Fight Scene option 35
  • Rco0241555897437 43jpg — Avatar: The Last Airbender Fight Scene option 36
  • Rco0241555897437 44jpg — Avatar: The Last Airbender Fight Scene option 37
  • Rco0241555897437 45jpg — Avatar: The Last Airbender Fight Scene option 38
  • Rco0241555897437 46jpg — Avatar: The Last Airbender Fight Scene option 39
  • Rco0241555897437 47jpg — Avatar: The Last Airbender Fight Scene option 40
  • Rco0241555897437 48jpg — Avatar: The Last Airbender Fight Scene option 41
  • Rco0241555897437 49jpg — Avatar: The Last Airbender Fight Scene option 42
  • Rco0241555897437 4jpg — Avatar: The Last Airbender Fight Scene option 43
  • Rco0241555897437 50jpg — Avatar: The Last Airbender Fight Scene option 44
  • Rco0241555897437 51jpg — Avatar: The Last Airbender Fight Scene option 45
  • Rco0241555897437 52jpg — Avatar: The Last Airbender Fight Scene option 46
  • Rco0241555897437 53jpg — Avatar: The Last Airbender Fight Scene option 47
  • Rco0241555897437 54jpg — Avatar: The Last Airbender Fight Scene option 48
  • Rco0241555897437 55jpg — Avatar: The Last Airbender Fight Scene option 49
  • Rco0241555897437 56jpg — Avatar: The Last Airbender Fight Scene option 50
  • Rco0241555897437 57jpg — Avatar: The Last Airbender Fight Scene option 51
  • Rco0241555897437 58jpg — Avatar: The Last Airbender Fight Scene option 52
  • Rco0241555897437 59jpg — Avatar: The Last Airbender Fight Scene option 53
  • Rco0241555897437 5jpg — Avatar: The Last Airbender Fight Scene option 54
  • Rco0241555897437 60jpg — Avatar: The Last Airbender Fight Scene option 55
  • Rco0241555897437 61jpg — Avatar: The Last Airbender Fight Scene option 56
  • Rco0241555897437 62jpg — Avatar: The Last Airbender Fight Scene option 57
  • Rco0241555897437 63jpg — Avatar: The Last Airbender Fight Scene option 58
  • Rco0241555897437 64jpg — Avatar: The Last Airbender Fight Scene option 59
  • Rco0241555897437 65jpg — Avatar: The Last Airbender Fight Scene option 60
  • Rco0241555897437 66jpg — Avatar: The Last Airbender Fight Scene option 61
  • Rco0241555897437 67jpg — Avatar: The Last Airbender Fight Scene option 62
  • Rco0241555897437 68jpg — Avatar: The Last Airbender Fight Scene option 63
  • Rco0241555897437 69jpg — Avatar: The Last Airbender Fight Scene option 64
  • Rco0241555897437 6jpg — Avatar: The Last Airbender Fight Scene option 65
  • Rco0241555897437 70jpg — Avatar: The Last Airbender Fight Scene option 66
  • Rco0241555897437 71jpg — Avatar: The Last Airbender Fight Scene option 67
  • Rco0241555897437 72jpg — Avatar: The Last Airbender Fight Scene option 68
  • Rco0241555897437 73jpg — Avatar: The Last Airbender Fight Scene option 69
  • Rco0241555897437 74jpg — Avatar: The Last Airbender Fight Scene option 70
  • Rco0241555897437 75jpg — Avatar: The Last Airbender Fight Scene option 71
  • Rco0241555897437 76jpg — Avatar: The Last Airbender Fight Scene option 72
  • Rco0241555897437 77 Jpg — Avatar: The Last Airbender Fight Scene option 73
  • Rco0241555897437 77jpg — Avatar: The Last Airbender Fight Scene option 74
  • Rco0241555897437 78 Jpg — Avatar: The Last Airbender Fight Scene option 75
  • Rco0241555897437 79 Jpg — Avatar: The Last Airbender Fight Scene option 76
  • Rco0241555897437 79 Jpg — Avatar: The Last Airbender Fight Scene option 77
  • Rco0241555897437 7jpg — Avatar: The Last Airbender Fight Scene option 78
  • Rco0241555897437 80 Jpg — Avatar: The Last Airbender Fight Scene option 79
  • Rco0241555897437 81 Jpg — Avatar: The Last Airbender Fight Scene option 80
  • Rco0241555897437 8jpg — Avatar: The Last Airbender Fight Scene option 81
  • Rco0241555897437 9jpg — Avatar: The Last Airbender Fight Scene option 82
  • Rco0241555897437 Jpg — Avatar: The Last Airbender Fight Scene option 83
  • Rco0241555897437jpg — Avatar: The Last Airbender Fight Scene option 84

More in Cartoons