1Empty
2Empty
3Empty
4Empty
5Empty
6Empty
7Empty
8Empty
9Empty
10Empty
11Empty
12Empty
13Empty
14Empty
15Empty
16Empty
17Empty
18Empty
19Empty
20Empty
21Empty
22Empty
23Empty
24Empty
25Empty
26Empty
27Empty
28Empty
29Empty
30Empty
31Empty
32Empty
33Empty
34Empty
35Empty
36Empty
37Empty
38Empty
39Empty
40Empty
41Empty
42Empty
43Empty
44Empty
45Empty
46Empty
47Empty
48Empty
49Empty
50Empty
51Empty
52Empty
53Empty
54Empty
55Empty
56Empty
57Empty
58Empty
59Empty
60Empty
61Empty
62Empty
63Empty
64Empty
65Empty
66Empty
67Empty
68Empty
69Empty
70Empty
71Empty
72Empty
73Empty
74Empty
75Empty
76Empty
77Empty
78Empty
79Empty
80Empty
81Empty
82Empty
83Empty
84Empty
85Empty
86Empty
87Empty
88Empty
89Empty
90Empty
91Empty
92Empty
93Empty
94Empty
95Empty
96Empty
97Empty
98Empty
99Empty
100Empty
101Empty
102Empty
103Empty
104Empty
105Empty
106Empty
107Empty
108Empty
109Empty
110Empty
111Empty
112Empty
113Empty
114Empty
115Empty
116Empty
117Empty
118Empty
119Empty
120Empty
121Empty
122Empty
123Empty
124Empty
125Empty
126Empty
127Empty
128Empty
129Empty
130Empty
Featured pickTabletop Spin Wheel GameAs an Amazon Associate we earn from qualifying purchases.
Shop
Public
29lifetime spins
2m 48stotal spin time

TierMakerView Tier ListCreated byTierMakerVerified

Your free Zelda BOTW and TOTK enemies decision wheel

Spin to pick for a random result from 130 options — a free Zelda BOTW and TOTK enemies wheel spinner that's fast, fair, and needs no sign-up.

The wheel holds 130 options and picks one at random on every spin. It's part of our Zelda spin wheels. It works as a decision wheel for decisions, giveaways, or settling a debate.

What's on the wheel — all 130 options
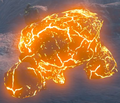
  • 120px Totkigneotalusmodel — Zelda BOTW and TOTK enemies option 1
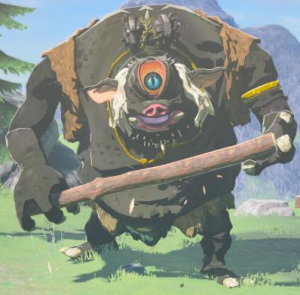
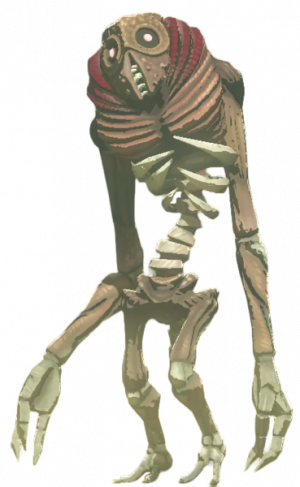
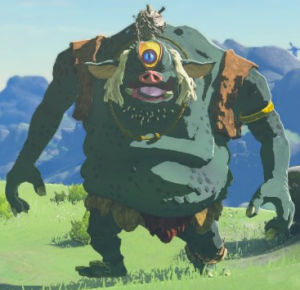
  • 369px Totkgibdomodel — Zelda BOTW and TOTK enemies option 2
  • 446px Totkwhite Manedlynelmodel — Zelda BOTW and TOTK enemies option 3
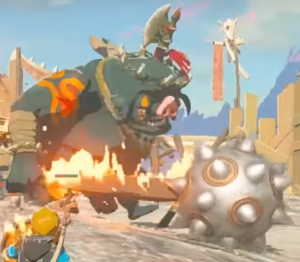
  • 513px Totkbossbokoblinmodel — Zelda BOTW and TOTK enemies option 4
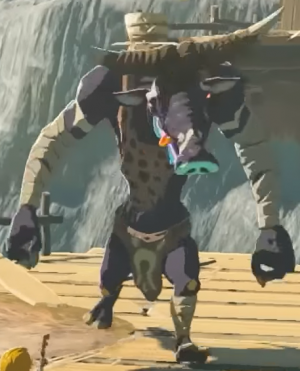
  • 609px Totkhinoxmodel — Zelda BOTW and TOTK enemies option 5
  • 627px Totksilverlynelmodel — Zelda BOTW and TOTK enemies option 6
  • 741px Totkbokoblinmodel — Zelda BOTW and TOTK enemies option 7
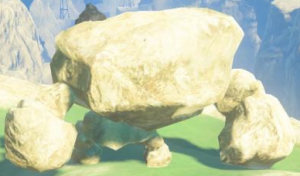
  • 800px Totkbattletalusmodel — Zelda BOTW and TOTK enemies option 8
  • 800px Totkblue Manedlynelmodel — Zelda BOTW and TOTK enemies option 9
  • 800px Totkbluelizalfosmodel — Zelda BOTW and TOTK enemies option 10
  • 800px Totkcolgeramodel — Zelda BOTW and TOTK enemies option 11
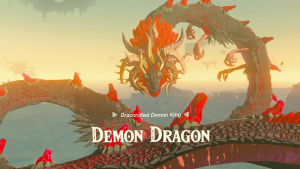
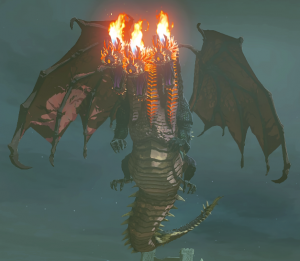
  • 800px Totkdemondragonmodel — Zelda BOTW and TOTK enemies option 12
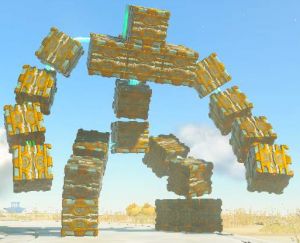
  • 800px Totkfluxconstructimodel — Zelda BOTW and TOTK enemies option 13
  • 800px Totkkinggleeokmodel — Zelda BOTW and TOTK enemies option 14
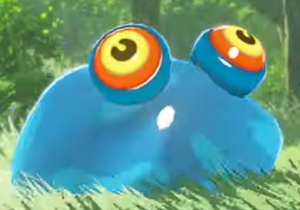
  • 800px Totkmucktorokmodel — Zelda BOTW and TOTK enemies option 15
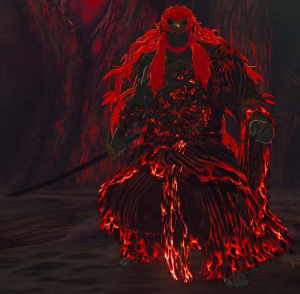
  • Calamity Ganon — Zelda BOTW and TOTK enemies option 16
  • Cursed Bokoblin — Zelda BOTW and TOTK enemies option 17
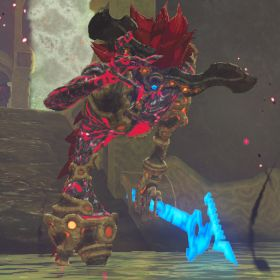
  • Cursed Moblin — Zelda BOTW and TOTK enemies option 18
  • Cursedlizalfos — Zelda BOTW and TOTK enemies option 19
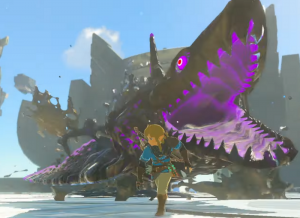
  • Dark Beast Ganon — Zelda BOTW and TOTK enemies option 20
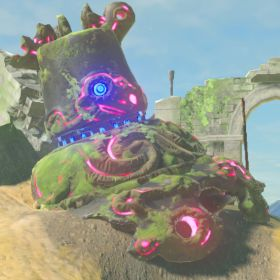
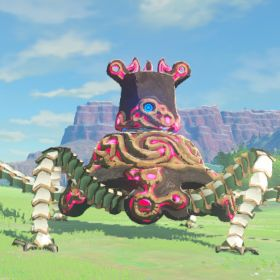
  • Decayed Guardian — Zelda BOTW and TOTK enemies option 21
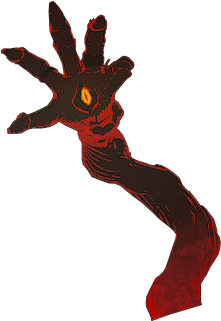
  • Fireblight Ganon — Zelda BOTW and TOTK enemies option 22
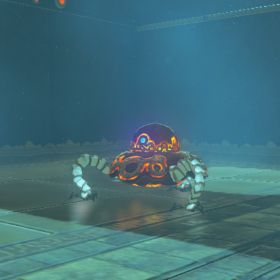
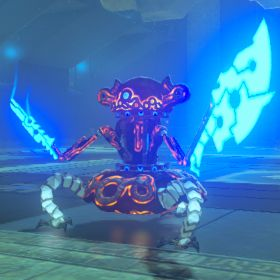
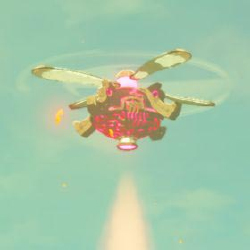
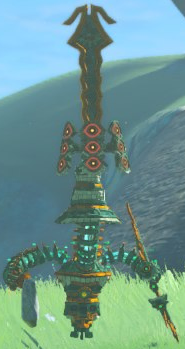
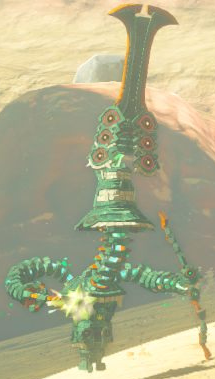
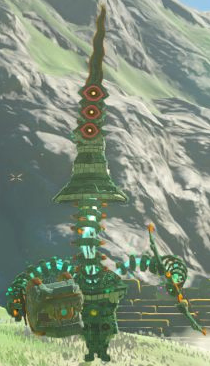
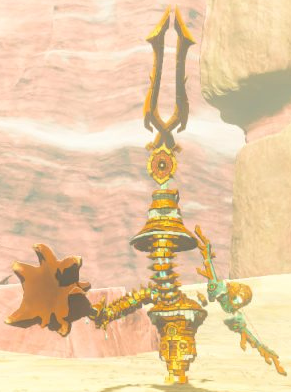
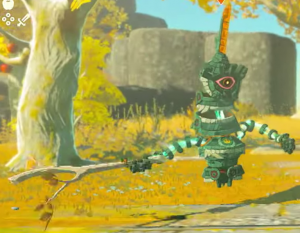
  • Guardian Scout I — Zelda BOTW and TOTK enemies option 23
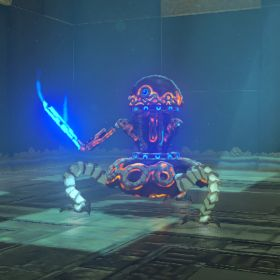
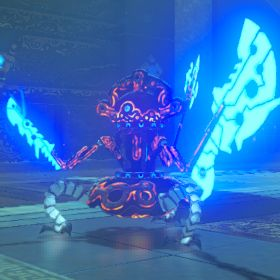
  • Guardian Scout Ii — Zelda BOTW and TOTK enemies option 24
  • Guardian Scout Iii — Zelda BOTW and TOTK enemies option 25
  • Guardian Scout Iv — Zelda BOTW and TOTK enemies option 26
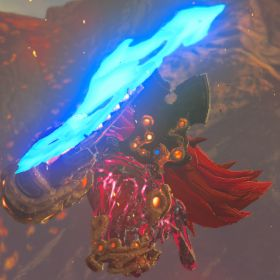
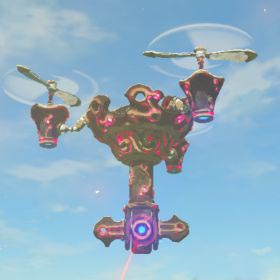
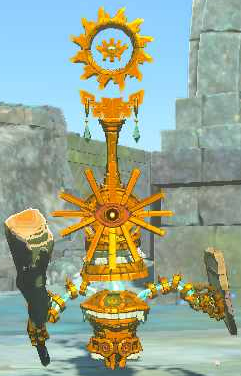
  • Guardian Skywatcher — Zelda BOTW and TOTK enemies option 27
  • Guardian Stalker — Zelda BOTW and TOTK enemies option 28
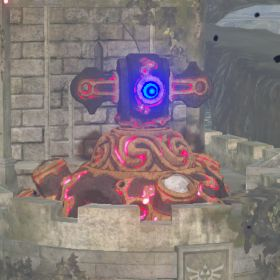
  • Guardian Turret — Zelda BOTW and TOTK enemies option 29
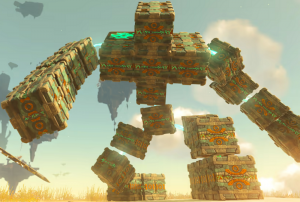
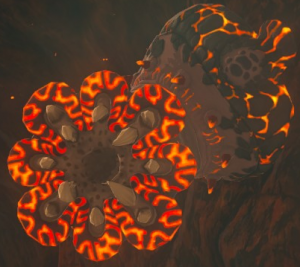
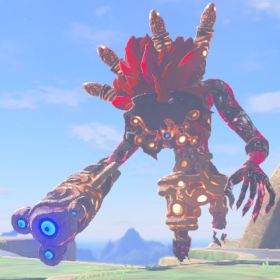
  • Igneo Titan — Zelda BOTW and TOTK enemies option 30
  • Master Kohga — Zelda BOTW and TOTK enemies option 31
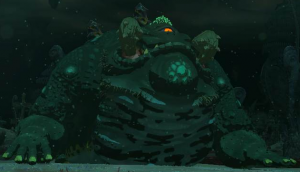
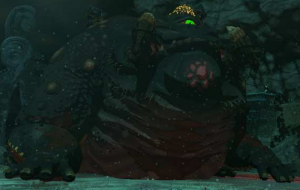
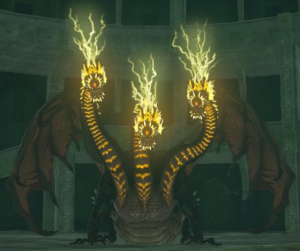
  • Molduking — Zelda BOTW and TOTK enemies option 32
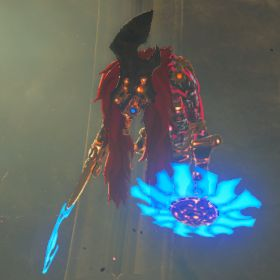
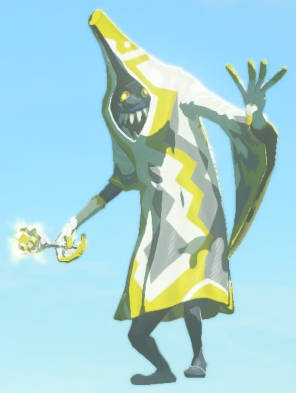
  • Monk Maz Koshia — Zelda BOTW and TOTK enemies option 33
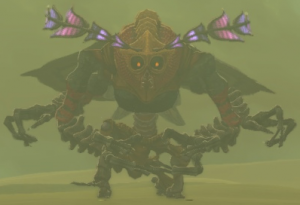
  • Sentry — Zelda BOTW and TOTK enemies option 34
  • Thunderblight Ganon — Zelda BOTW and TOTK enemies option 35
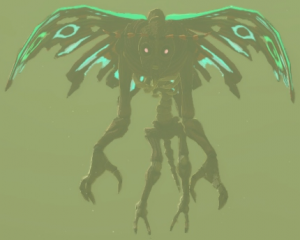
  • Totkaerocudamodel — Zelda BOTW and TOTK enemies option 36
  • Totkblackbokoblinmodel — Zelda BOTW and TOTK enemies option 37
  • Totkblackbossbokoblinmodel — Zelda BOTW and TOTK enemies option 38
  • Totkblackhinoxmodel — Zelda BOTW and TOTK enemies option 39
  • Totkblackhorriblinmodel — Zelda BOTW and TOTK enemies option 40
  • Totkblacklizalfosmodel — Zelda BOTW and TOTK enemies option 41
  • Totkblackmoblinmodel — Zelda BOTW and TOTK enemies option 42
  • Totkblizzrobemodel — Zelda BOTW and TOTK enemies option 43
  • Totkblue Whitefroxmodel — Zelda BOTW and TOTK enemies option 44
  • Totkbluebokoblinmodel2 — Zelda BOTW and TOTK enemies option 45
  • Totkbluebossbokoblinmodel — Zelda BOTW and TOTK enemies option 46
  • Totkbluehinoxmodel — Zelda BOTW and TOTK enemies option 47
  • Totkbluehorriblinmodel — Zelda BOTW and TOTK enemies option 48
  • Totkbluemoblinmodel — Zelda BOTW and TOTK enemies option 49
  • Totkcaptainconstructiiimodel — Zelda BOTW and TOTK enemies option 50
  • Totkcaptainconstructiimodel — Zelda BOTW and TOTK enemies option 51
  • Totkcaptainconstructimodel — Zelda BOTW and TOTK enemies option 52
  • Totkcaptainconstructivmodel — Zelda BOTW and TOTK enemies option 53
  • Totkchuchumodel — Zelda BOTW and TOTK enemies option 54
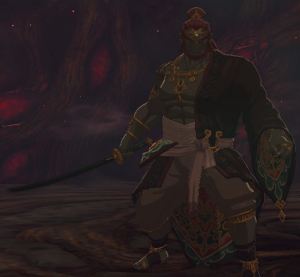
  • Totkdemonkingganondorfmodel — Zelda BOTW and TOTK enemies option 55
  • Totkdemonkingganondorfmodel2 — Zelda BOTW and TOTK enemies option 56
  • Totkelectricchuchumodel — Zelda BOTW and TOTK enemies option 57
  • Totkelectrickeesemodel — Zelda BOTW and TOTK enemies option 58
  • Totkelectriclizalfosmodel — Zelda BOTW and TOTK enemies option 59
  • Totkelectricwizzrobemodel — Zelda BOTW and TOTK enemies option 60
  • Totkevermeanmodel — Zelda BOTW and TOTK enemies option 61
  • Totkevermeanmodel2 — Zelda BOTW and TOTK enemies option 62
  • Totkfire Breathlizalfosmodel — Zelda BOTW and TOTK enemies option 63
  • Totkfirechuchumodel — Zelda BOTW and TOTK enemies option 64
  • Totkfirekeesemodel — Zelda BOTW and TOTK enemies option 65
  • Totkfirelikemodel — Zelda BOTW and TOTK enemies option 66
  • Totkfirewizzrobemodel — Zelda BOTW and TOTK enemies option 67
  • Totkflamegleeokmodel — Zelda BOTW and TOTK enemies option 68
  • Totkfluxconstructiiimodel — Zelda BOTW and TOTK enemies option 69
  • Totkfluxconstructiimodel — Zelda BOTW and TOTK enemies option 70
  • Totkforestoctorokmodel — Zelda BOTW and TOTK enemies option 71
  • Totkfrostgleeokmodel — Zelda BOTW and TOTK enemies option 72
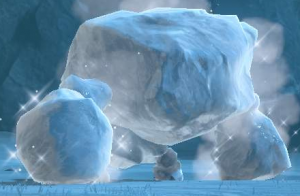
  • Totkfrostpebblitmodel — Zelda BOTW and TOTK enemies option 73
  • Totkfrosttalusmodel — Zelda BOTW and TOTK enemies option 74
  • Totkfroxmodel — Zelda BOTW and TOTK enemies option 75
  • Totkgloomspawnmodel — Zelda BOTW and TOTK enemies option 76
  • Totkhorriblinmodel — Zelda BOTW and TOTK enemies option 77
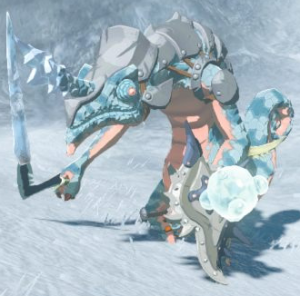
  • Totkice Breathlizalfosmodel — Zelda BOTW and TOTK enemies option 78
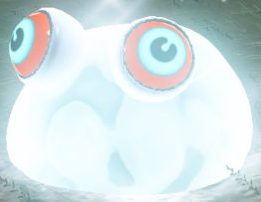
  • Totkicechuchumodel — Zelda BOTW and TOTK enemies option 79
  • Totkicekeesemodel — Zelda BOTW and TOTK enemies option 80
  • Totkicelikemodel — Zelda BOTW and TOTK enemies option 81
  • Totkicewizzrobemodel — Zelda BOTW and TOTK enemies option 82
  • Totkigneopebblitmodel — Zelda BOTW and TOTK enemies option 83
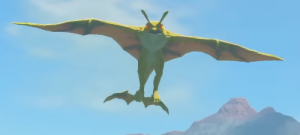
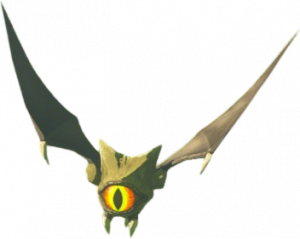
  • Totkkeesemodel — Zelda BOTW and TOTK enemies option 84
  • Totklikelikemodel — Zelda BOTW and TOTK enemies option 85
  • Totklittlefroxmodel — Zelda BOTW and TOTK enemies option 86
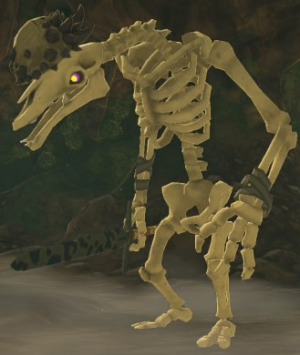
  • Totklizalfosmodel — Zelda BOTW and TOTK enemies option 87
  • Totklynelmodel — Zelda BOTW and TOTK enemies option 88
  • Totkmarbledgohmamodel — Zelda BOTW and TOTK enemies option 89
  • Totkmeteowizzrobemodel — Zelda BOTW and TOTK enemies option 90
  • Totkmoblinmodel — Zelda BOTW and TOTK enemies option 91
  • Totkmoldugamodel — Zelda BOTW and TOTK enemies option 92
  • Totkmoragiamodel — Zelda BOTW and TOTK enemies option 93
  • Totkmothgibdomodel — Zelda BOTW and TOTK enemies option 94
  • Totkobsidianfroxmodel — Zelda BOTW and TOTK enemies option 95
  • Totkphantomganonmodel — Zelda BOTW and TOTK enemies option 96
  • Totkqueengibdomodel — Zelda BOTW and TOTK enemies option 97
  • Totkrocklikemodel — Zelda BOTW and TOTK enemies option 98
  • Totkrockoctorokmodel — Zelda BOTW and TOTK enemies option 99
  • Totkseizedconstructmodel — Zelda BOTW and TOTK enemies option 100
  • Totkshocklikemodel — Zelda BOTW and TOTK enemies option 101
  • Totksilverbokoblinmodel — Zelda BOTW and TOTK enemies option 102
  • Totksilverbossbokoblinmodel — Zelda BOTW and TOTK enemies option 103
  • Totksilverhorriblinmodel — Zelda BOTW and TOTK enemies option 104
  • Totksilverlizalfosmodel — Zelda BOTW and TOTK enemies option 105
  • Totksilvermoblinmodel — Zelda BOTW and TOTK enemies option 106
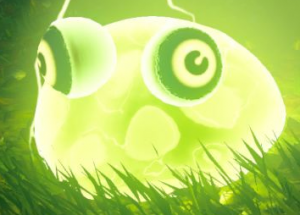
  • Totksludgelikemodel — Zelda BOTW and TOTK enemies option 107
  • Totksnowoctorokmodel — Zelda BOTW and TOTK enemies option 108
  • Totksoldierconstructiiimodel — Zelda BOTW and TOTK enemies option 109
  • Totksoldierconstructiimodel — Zelda BOTW and TOTK enemies option 110
  • Totksoldierconstructimodel — Zelda BOTW and TOTK enemies option 111
  • Totksoldierconstructivmodel — Zelda BOTW and TOTK enemies option 112
  • Totkstalizalfosmodel — Zelda BOTW and TOTK enemies option 113
  • Totkstalkoblinmodel — Zelda BOTW and TOTK enemies option 114
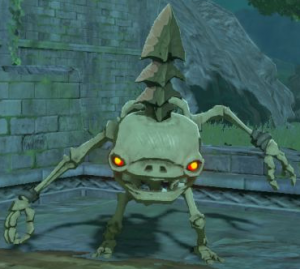
  • Totkstalmoblinmodel — Zelda BOTW and TOTK enemies option 115
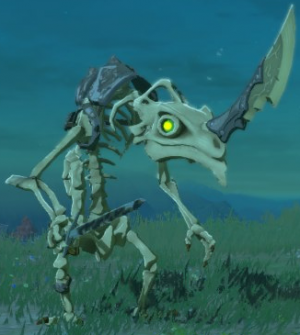
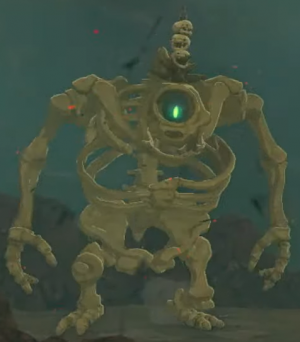
  • Totkstalnoxmodel — Zelda BOTW and TOTK enemies option 116
  • Totkstonepebblitmodel — Zelda BOTW and TOTK enemies option 117
  • Totkstonetalusluminousmodel — Zelda BOTW and TOTK enemies option 118
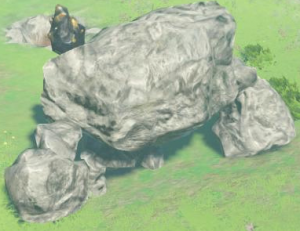
  • Totkstonetalusmodel — Zelda BOTW and TOTK enemies option 119
  • Totkstonetalusraremodel — Zelda BOTW and TOTK enemies option 120
  • Totkthundergleeokmodel — Zelda BOTW and TOTK enemies option 121
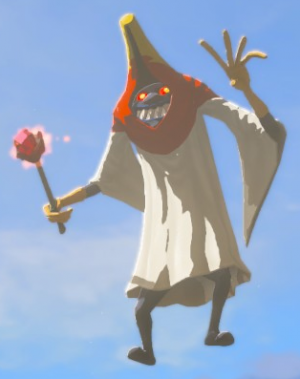
  • Totkthunderwizzrobemodel — Zelda BOTW and TOTK enemies option 122
  • Totktrainingconstructmodel — Zelda BOTW and TOTK enemies option 123
  • Totktreasureoctorokmodel — Zelda BOTW and TOTK enemies option 124
  • Totkwateroctorokmodel — Zelda BOTW and TOTK enemies option 125
  • Totkyunobomodel — Zelda BOTW and TOTK enemies option 126
  • Waterblight Ganon — Zelda BOTW and TOTK enemies option 127
  • Windblight Ganon 2 — Zelda BOTW and TOTK enemies option 128
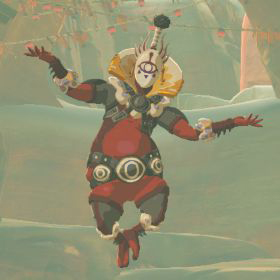
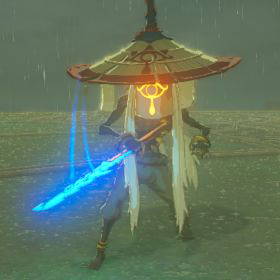
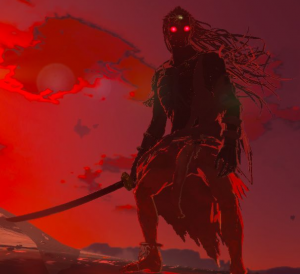
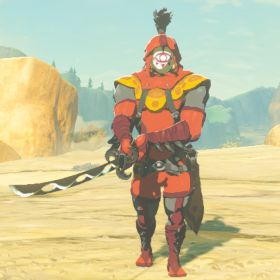
  • Yiga Blademaster — Zelda BOTW and TOTK enemies option 129
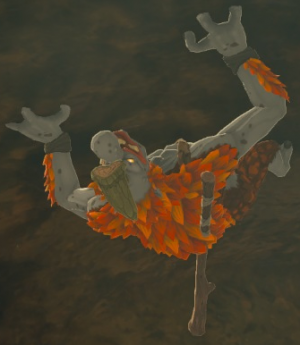
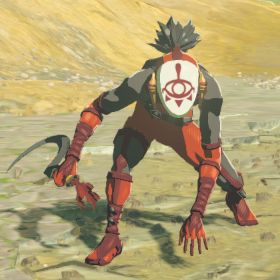
  • Yiga Footsoldier — Zelda BOTW and TOTK enemies option 130

More in Zelda