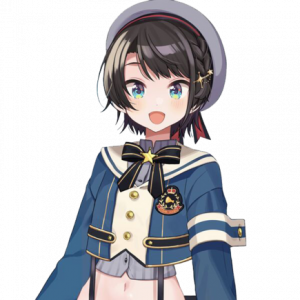
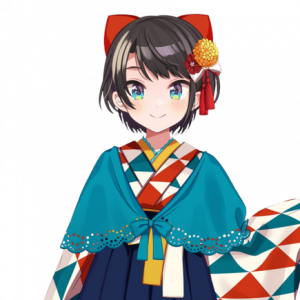
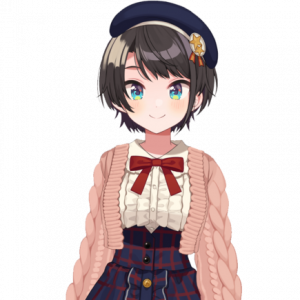
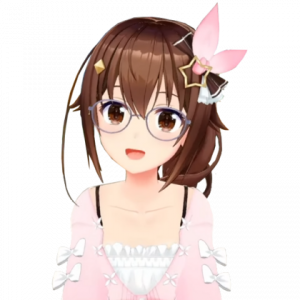
1Empty
2Empty
3Empty
4Empty
5Empty
6Empty
7Empty
8Empty
9Empty
10Empty
11Empty
12Empty
13Empty
14Empty
15Empty
16Empty
17Empty
18Empty
19Empty
20Empty
21Empty
22Empty
23Empty
24Empty
25Empty
Showing 25 of 237 items. Scroll for more
Tabletop random spin wheel with colored slices on a stand
Spin it for realTabletop random spin wheels
Shop spin wheels
As an Amazon Associate we earn from qualifying purchases.
Public
TierMakerView Tier ListCreated byTierMakerVerified

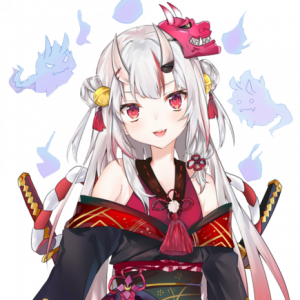
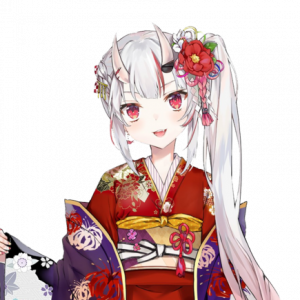
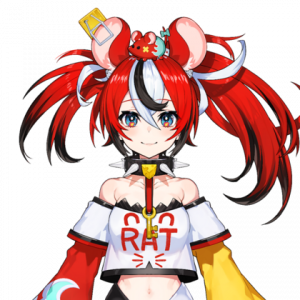
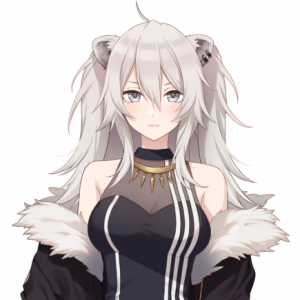
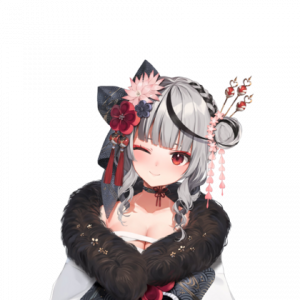
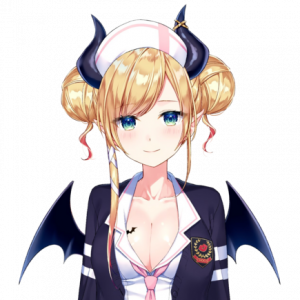
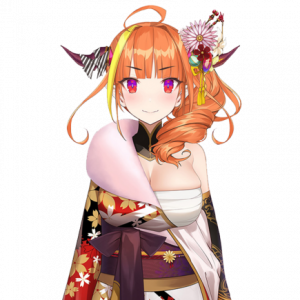
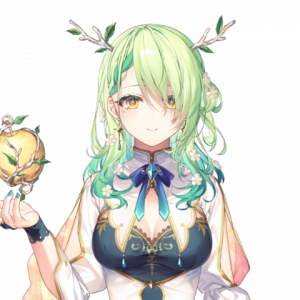
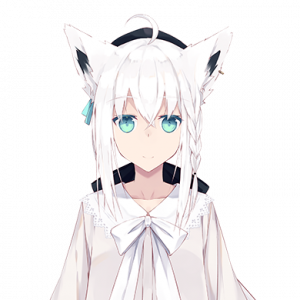
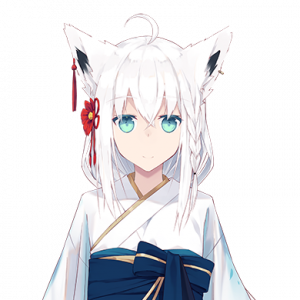
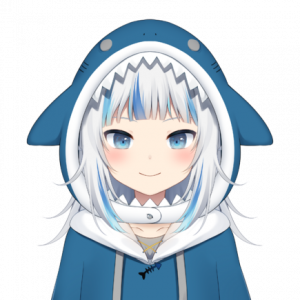
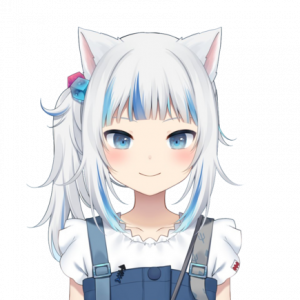
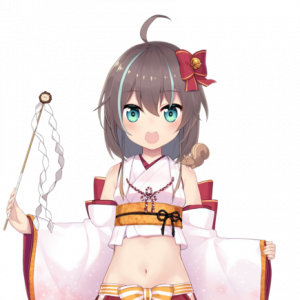
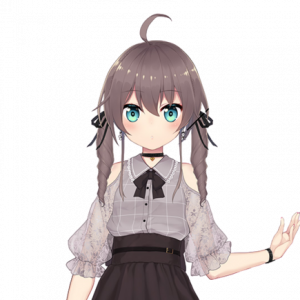
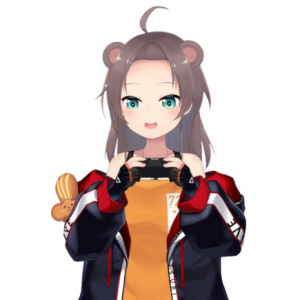
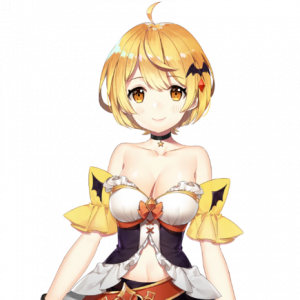
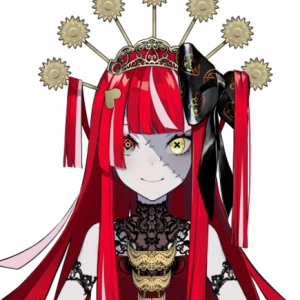
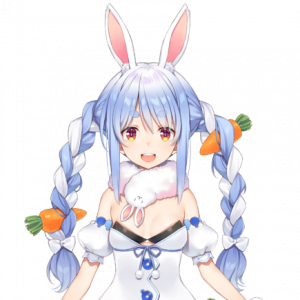
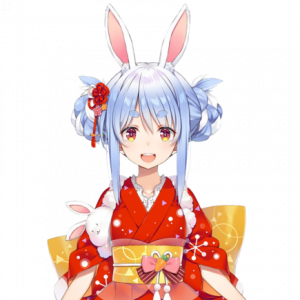
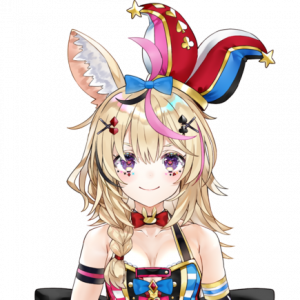
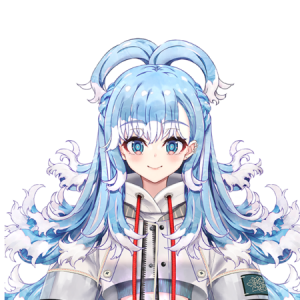
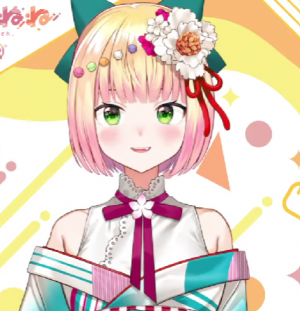
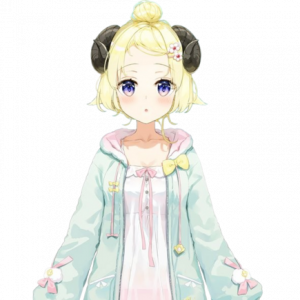
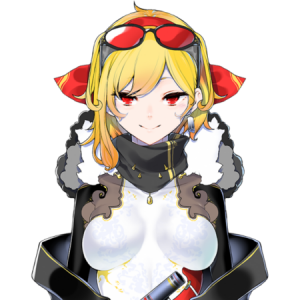
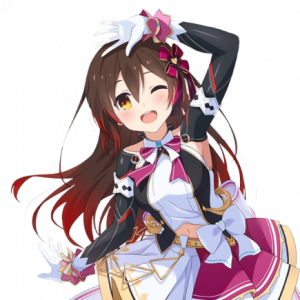
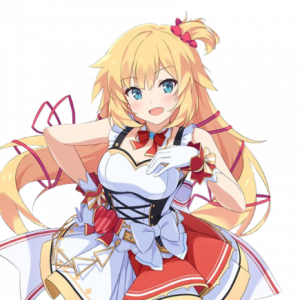
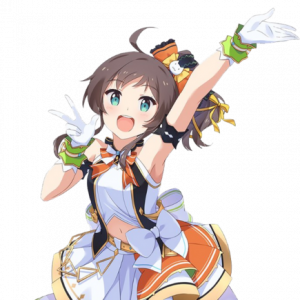
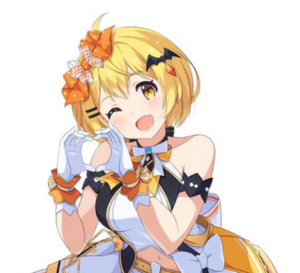
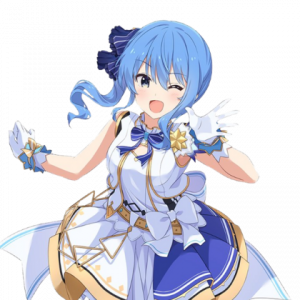
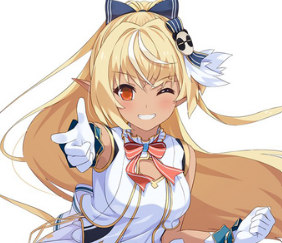
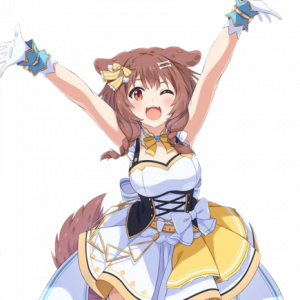
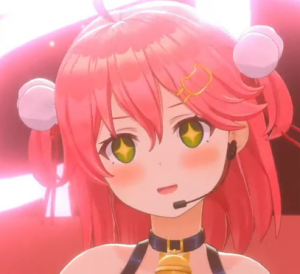
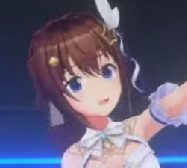
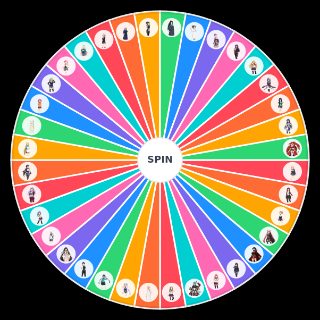
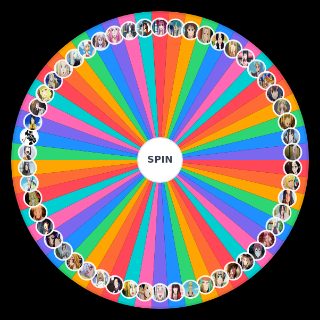
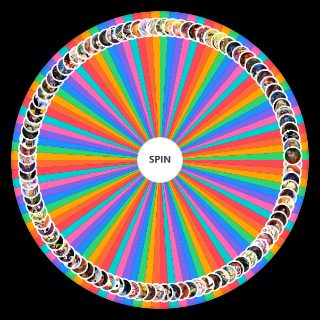
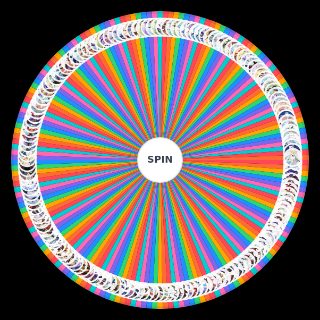
Using the hololive outfits random wheel

Tap spin for a random result from 237 options — a free hololive outfits random wheel that's fast, fair, and needs no sign-up.

Every spin randomly selects one of the 237 options. It's part of our Waifus spin wheels. It doubles as a roulette wheel, decision maker, or quick party game.

What's on the wheel — all 237 options

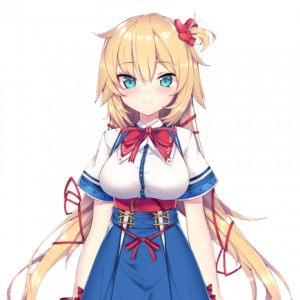
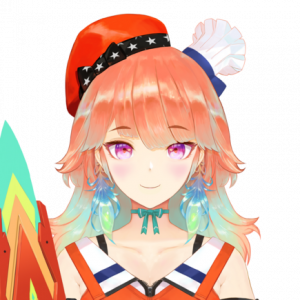
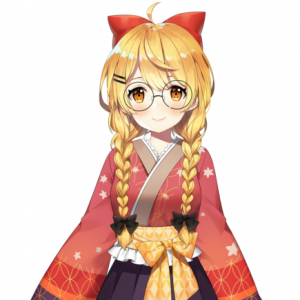
  • Aki1png — hololive outfits option 1
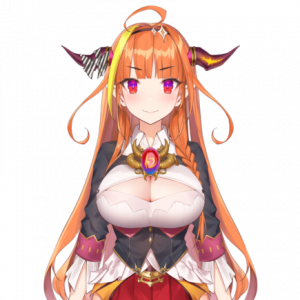
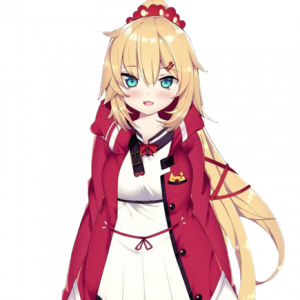
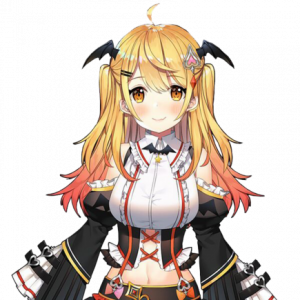
  • Aki2png — hololive outfits option 2
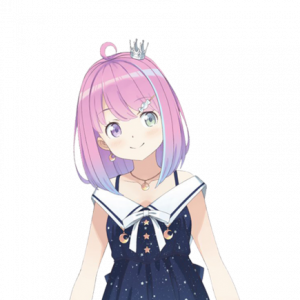
  • Aki3png — hololive outfits option 3
  • Aki4png — hololive outfits option 4
  • Aki5png — hololive outfits option 5
  • Ame1png — hololive outfits option 6
  • Ame2png — hololive outfits option 7
  • Ame3png — hololive outfits option 8
  • Ame4png — hololive outfits option 9
  • Ame5png — hololive outfits option 10
  • Anya1png — hololive outfits option 11
  • Anya2png — hololive outfits option 12
  • Aqua1png — hololive outfits option 13
  • Aqua2png — hololive outfits option 14
  • Aqua3png — hololive outfits option 15
  • Ayame1png — hololive outfits option 16
  • Ayame2png — hololive outfits option 17
  • Ayame4png — hololive outfits option 18
  • Ayame5png — hololive outfits option 19
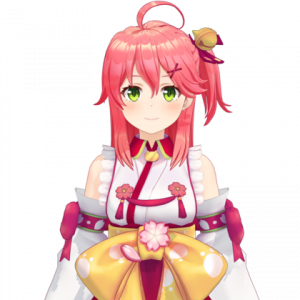
  • Azki1png — hololive outfits option 20
  • Azki2png — hololive outfits option 21
  • Azki3png — hololive outfits option 22
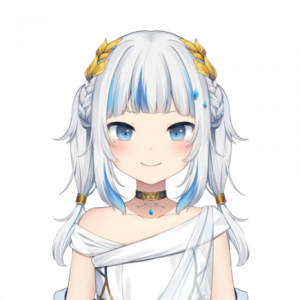
  • Baelz1png — hololive outfits option 23
  • Baelz2png — hololive outfits option 24
  • Botan1png — hololive outfits option 25
  • Botan2png — hololive outfits option 26
  • Botan3png — hololive outfits option 27
  • Calli1png — hololive outfits option 28
  • Calli2png — hololive outfits option 29
  • Calli3png — hololive outfits option 30
  • Calli4png — hololive outfits option 31
  • Calli5png — hololive outfits option 32
  • Chloe1png — hololive outfits option 33
  • Chloe2png — hololive outfits option 34
  • Choco1png — hololive outfits option 35
  • Choco2png — hololive outfits option 36
  • Choco4png — hololive outfits option 37
  • Choco6png — hololive outfits option 38
  • Coco1png — hololive outfits option 39
  • Coco2png — hololive outfits option 40
  • Coco3png — hololive outfits option 41
  • Coco4png — hololive outfits option 42
  • Fauna1png — hololive outfits option 43
  • Fauna2png — hololive outfits option 44
  • Flare1png — hololive outfits option 45
  • Flare2png — hololive outfits option 46
  • Flare3png — hololive outfits option 47
  • Flare4png — hololive outfits option 48
  • Fubuki1png — hololive outfits option 49
  • Fubuki2png — hololive outfits option 50
  • Fubuki3png — hololive outfits option 51
  • Fubuki4png — hololive outfits option 52
  • Fubuki5png — hololive outfits option 53
  • Gura1png — hololive outfits option 54
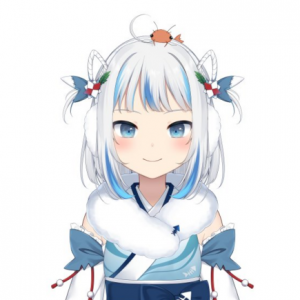
  • Gura2png — hololive outfits option 55
  • Gura3png — hololive outfits option 56
  • Gura4png — hololive outfits option 57
  • Gura5png — hololive outfits option 58
  • Haato1png — hololive outfits option 59
  • Haato2png — hololive outfits option 60
  • Haato3png — hololive outfits option 61
  • Haato4png — hololive outfits option 62
  • Ina1png — hololive outfits option 63
  • Ina2png — hololive outfits option 64
  • Ina3png — hololive outfits option 65
  • Ina4png — hololive outfits option 66
  • Ina5png — hololive outfits option 67
  • Iofi1png — hololive outfits option 68
  • Iofi2png — hololive outfits option 69
  • Iofi3png — hololive outfits option 70
  • Iroha1png — hololive outfits option 71
  • Iroha2png — hololive outfits option 72
  • Iryspng — hololive outfits option 73
  • Kanata1png — hololive outfits option 74
  • Kanata2png — hololive outfits option 75
  • Kanata3png — hololive outfits option 76
  • Kiara1png — hololive outfits option 77
  • Kiara2png — hololive outfits option 78
  • Kiara3png — hololive outfits option 79
  • Kiara4png — hololive outfits option 80
  • Kiara5png — hololive outfits option 81
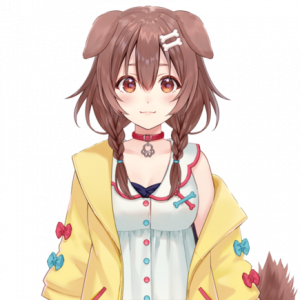
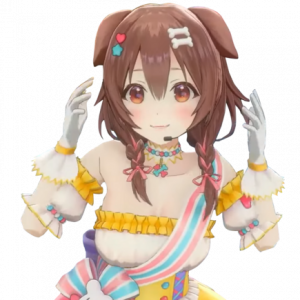
  • Korone1png — hololive outfits option 82
  • Korone2png — hololive outfits option 83
  • Korone3png — hololive outfits option 84
  • Korone4png — hololive outfits option 85
  • Koyori1png — hololive outfits option 86
  • Koyori2png — hololive outfits option 87
  • Kronii1png — hololive outfits option 88
  • Kronii2png — hololive outfits option 89
  • Lamy1png — hololive outfits option 90
  • Lamy2png — hololive outfits option 91
  • Lamy3png — hololive outfits option 92
  • Laplus1png — hololive outfits option 93
  • Laplus2png — hololive outfits option 94
  • Lui1png — hololive outfits option 95
  • Lui2png — hololive outfits option 96
  • Luna1png — hololive outfits option 97
  • Luna2png — hololive outfits option 98
  • Luna3png — hololive outfits option 99
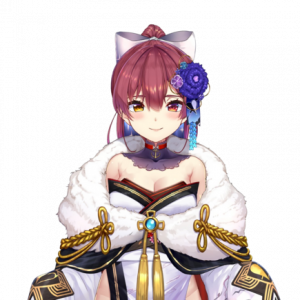
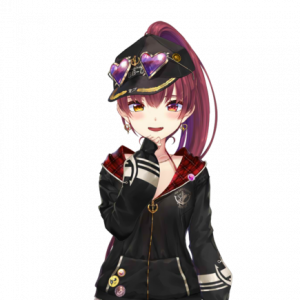
  • Marine1png — hololive outfits option 100
  • Marine2png — hololive outfits option 101
  • Marine3png — hololive outfits option 102
  • Marine4png — hololive outfits option 103
  • Matsuri1png — hololive outfits option 104
  • Matsuri2png — hololive outfits option 105
  • Matsuri3png — hololive outfits option 106
  • Matsuri4png — hololive outfits option 107
  • Matsuri5png — hololive outfits option 108
  • Mel1png — hololive outfits option 109
  • Mel2png — hololive outfits option 110
  • Mel3png — hololive outfits option 111
  • Mel4png — hololive outfits option 112
  • Miko1png — hololive outfits option 113
  • Miko2png — hololive outfits option 114
  • Miko3png — hololive outfits option 115
  • Mio1png — hololive outfits option 116
  • Mio2png — hololive outfits option 117
  • Mio3png — hololive outfits option 118
  • Mio4png — hololive outfits option 119
  • Mio5png — hololive outfits option 120
  • Moona1png — hololive outfits option 121
  • Moona2png — hololive outfits option 122
  • Moona3png — hololive outfits option 123
  • Mumei1png — hololive outfits option 124
  • Mumei2png — hololive outfits option 125
  • Nene1png — hololive outfits option 126
  • Nene2png — hololive outfits option 127
  • Nene3png — hololive outfits option 128
  • Nene4png — hololive outfits option 129
  • Noel1png — hololive outfits option 130
  • Noel2png — hololive outfits option 131
  • Noel3png — hololive outfits option 132
  • Noel4png — hololive outfits option 133
  • Okayu1png — hololive outfits option 134
  • Okayu2png — hololive outfits option 135
  • Okayu3png — hololive outfits option 136
  • Okayu4png — hololive outfits option 137
  • Ollie1png — hololive outfits option 138
  • Ollie2png — hololive outfits option 139
  • Pekora1png — hololive outfits option 140
  • Pekora2png — hololive outfits option 141
  • Pekora3png — hololive outfits option 142
  • Pekora4png — hololive outfits option 143
  • Polka1png — hololive outfits option 144
  • Polka2png — hololive outfits option 145
  • Polka3png — hololive outfits option 146
  • Reine1png — hololive outfits option 147
  • Reine2png — hololive outfits option 148
  • Risu1png — hololive outfits option 149
  • Risu2png — hololive outfits option 150
  • Risu3png — hololive outfits option 151
  • Roboco1png — hololive outfits option 152
  • Roboco2png — hololive outfits option 153
  • Roboco3png — hololive outfits option 154
  • Rushia1png — hololive outfits option 155
  • Rushia2png — hololive outfits option 156
  • Rushia3png — hololive outfits option 157
  • Rushia4png — hololive outfits option 158
  • Rushia5png — hololive outfits option 159
  • Rushia6png — hololive outfits option 160
  • Rushia7png — hololive outfits option 161
  • Sana1png — hololive outfits option 162
  • Sana2png — hololive outfits option 163
  • Shion1png — hololive outfits option 164
  • Shion2png — hololive outfits option 165
  • Shion3png — hololive outfits option 166
  • Shion4png — hololive outfits option 167
  • Shion5png — hololive outfits option 168
  • Shuba1png — hololive outfits option 169
  • Shuba2png — hololive outfits option 170
  • Shuba3png — hololive outfits option 171
  • Shuba4png — hololive outfits option 172
  • Sora1png — hololive outfits option 173
  • Sora2png — hololive outfits option 174
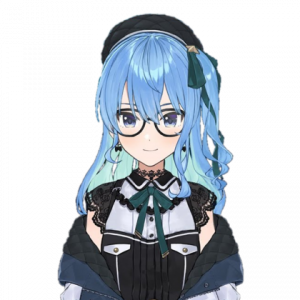
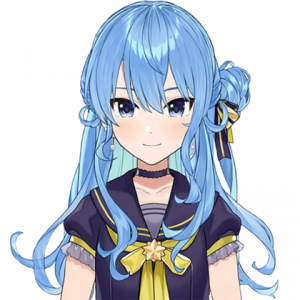
  • Suisei1png — hololive outfits option 175
  • Suisei2png — hololive outfits option 176
  • Suisei3png — hololive outfits option 177
  • Suisei4png — hololive outfits option 178
  • Suisei5png — hololive outfits option 179
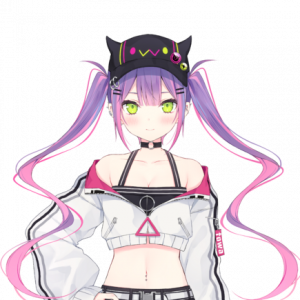
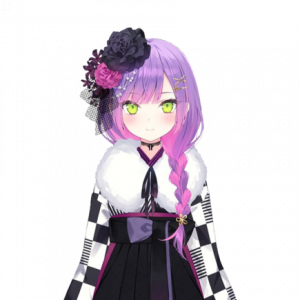
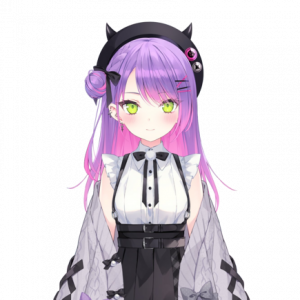
  • Towa1png — hololive outfits option 180
  • Towa2png — hololive outfits option 181
  • Towa3png — hololive outfits option 182
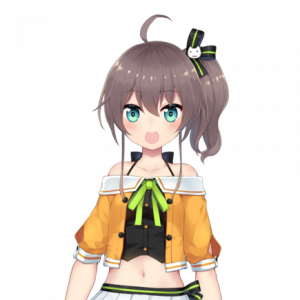
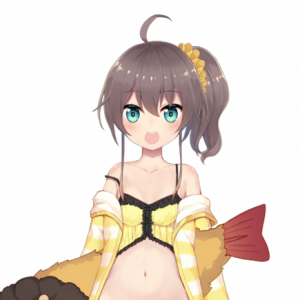
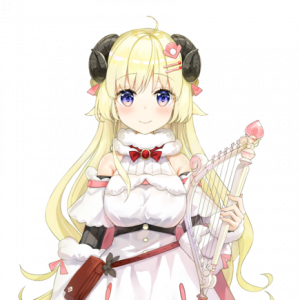
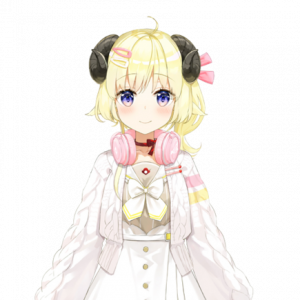
  • Watame1png — hololive outfits option 183
  • Watame2png — hololive outfits option 184
  • Watame3png — hololive outfits option 185
  • Zz1648718481zeta1png — hololive outfits option 186
  • Zz1648718523kobo1png — hololive outfits option 187
  • Zz1648718523nene5png — hololive outfits option 188
  • Zz1648718523watame4png — hololive outfits option 189
  • Zz1648718642kaela1png — hololive outfits option 190
  • Zz1651236366aquaipng — hololive outfits option 191
  • Zz1651236366robocoipng — hololive outfits option 192
  • Zz1651236366soraipng — hololive outfits option 193
  • Zz1651236367akiipng — hololive outfits option 194
  • Zz1651236367azkiipng — hololive outfits option 195
  • Zz1651236367fubukiipng — hololive outfits option 196
  • Zz1651236367haato5png — hololive outfits option 197
  • Zz1651236367haatoipng — hololive outfits option 198
  • Zz1651236367matsuriipng — hololive outfits option 199
  • Zz1651236367melipng — hololive outfits option 200
  • Zz1651236367mikoipng — hololive outfits option 201
  • Zz1651236367suiseiipng — hololive outfits option 202
  • Zz1651237210botanipng — hololive outfits option 203
  • Zz1651237210flareipng — hololive outfits option 204
  • Zz1651237210kanataipng — hololive outfits option 205
  • Zz1651237210koroneipng — hololive outfits option 206
  • Zz1651237210lamyipng — hololive outfits option 207
  • Zz1651237210lunaipng — hololive outfits option 208
  • Zz1651237210marineipng — hololive outfits option 209
  • Zz1651237210mioipng — hololive outfits option 210
  • Zz1651237210neneipng — hololive outfits option 211
  • Zz1651237210noelipng — hololive outfits option 212
  • Zz1651237210okayuipng — hololive outfits option 213
  • Zz1651237210pekoraipng — hololive outfits option 214
  • Zz1651237210polkaipng — hololive outfits option 215
  • Zz1651237210shubaipng — hololive outfits option 216
  • Zz1651237210towaipng — hololive outfits option 217
  • Zz1651237210watameipng — hololive outfits option 218
  • Zz1651237273ayameipng — hololive outfits option 219
  • Zz1651237273chocoipng — hololive outfits option 220
  • Zz1651237273shionipng — hololive outfits option 221
  • Zz1651433207achan1png — hololive outfits option 222
  • Zz1651433207achan2png — hololive outfits option 223
  • Zz1651433207enmapng — hololive outfits option 224
  • Zz1651433207jchadpng — hololive outfits option 225
  • Zz1651433207jenmapng — hololive outfits option 226
  • Zz1651433207kanata4png — hololive outfits option 227
  • Zz1651433207nodokajpg — hololive outfits option 228
  • Zz1651433207omegaapng — hololive outfits option 229
  • Zz1651433583korone5png — hololive outfits option 230
  • Zz1651433583suisei6png — hololive outfits option 231
  • Zz1651433584aqua4png — hololive outfits option 232
  • Zz1651433584aqua5png — hololive outfits option 233
  • Zz1651436164cocoipng — hololive outfits option 234
  • Zz1651436164rushiaipng — hololive outfits option 235
  • Zz1654653966miko4png — hololive outfits option 236
  • Zz1654653966sora3png — hololive outfits option 237

More in Waifus